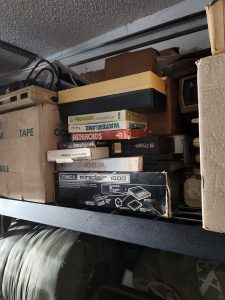
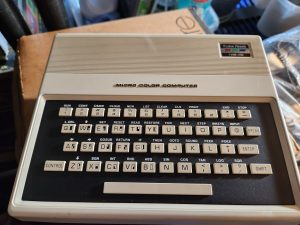
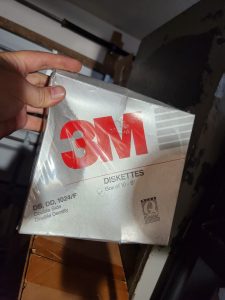
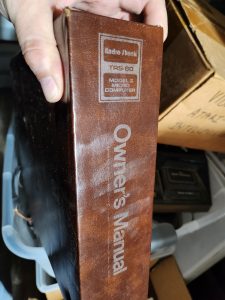
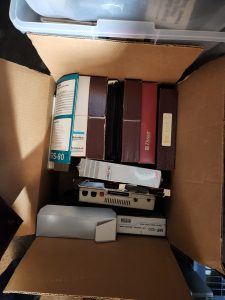
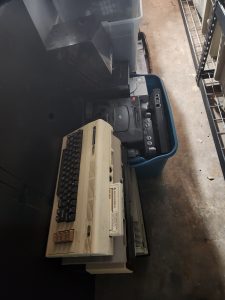
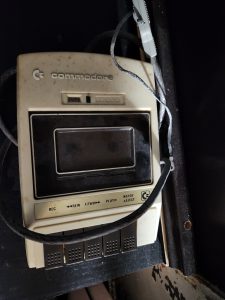
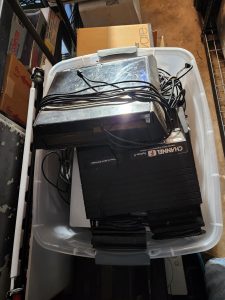
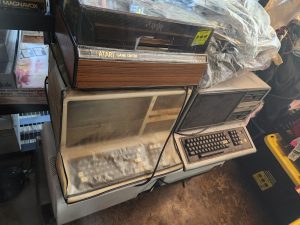
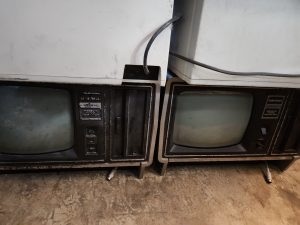
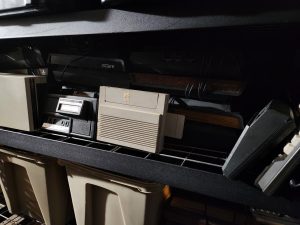
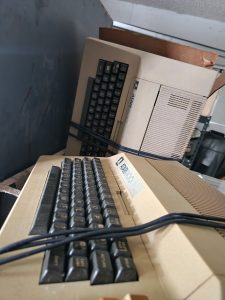
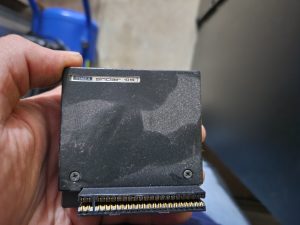
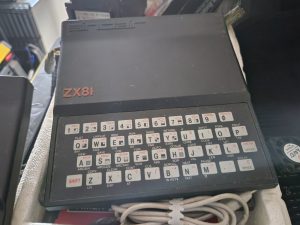
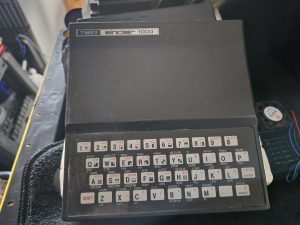
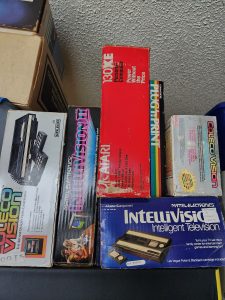
I will need to do an inventory and I will probably do that this weekend. That said, I did manage to take a few pictures and I hope that a few of these will make good blog posts for system and console restorations.
Enjoy 
So you ever noticed those nice wiring jobs where everything lines up and it looks so clean that you almost believe that it was done without human intervention… well the arcade was not done that way when I originally built it. Because of that, when I decided to add the missing nixie circuit, I decided to also clean up the rat’s nest of wires that was my arcade.
I know I am going to get hell for this but here is what it looked like before.
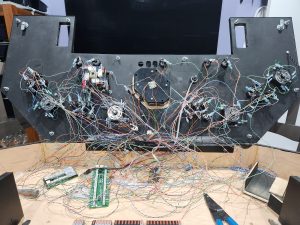
Yeah, I know. On a good note though, it has been cleaned up a bit and I managed to get some nice new parts to help with wire/cable management. Check it out so far…
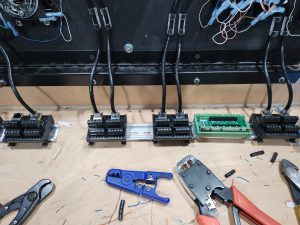
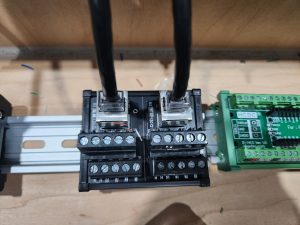
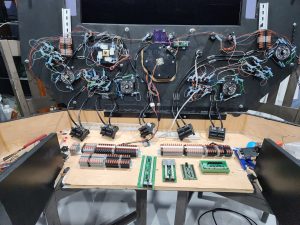
I also realized that I never posted what the arcade looks like. Here you go. I will also be linking a few things that I used to help with my cable management so if you want to use any to help, feel free.
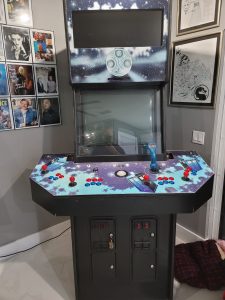
Items purchased for arcade:
Cat 5 Cable Clips
Din Rail Terminal Blocks
Din Rail Mount for Pico Board
Din Rail Mount Breakout for Ethernet
Aluminum Din Rails 8″
We will see how things go when I install it.
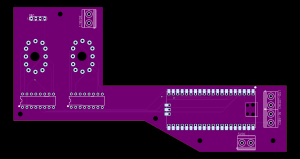
New Board
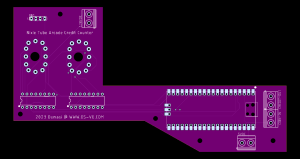
Old Board
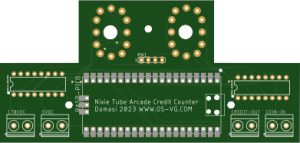
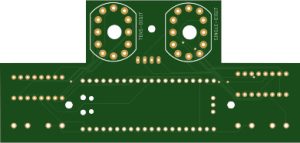
The Credit buttons are on the sides next to the Nixie tubes so I had to make spaces on each side. There is also the fact that the Nixies are in reverse since I wanted to flush mount the nixie tubes, so I decided to have all the components except them on the other side.
I will get specs for the space and verify that the board will fit in but so far they look good enough to fit in there. Should have this up and running real soon and then another item on the list is taken care of. Enjoy.
Fast forward a few years and I decided to actually give it a swing. Originally I found a hat for an Audrino but the hat was not ideal as it would give false signals and accept interference that would make it work intermittently. This attempt came with a big change or using the Raspberry Pico which was broader in capabilities as well as gave me wireless capabilities so I can adjust between credit and free play without physically making adjustments.
At this point, I have prototyped the circuit and will be working on getting drawings done to have it printed. Once done, I will add updates here.
Here is a video of the final prototype working. The Youtube channel has more testing videos of various components as they were made. Feel free to check them out as well.
Create and Enjoy
]]>If you are looking for one, we included the link and will be adding our first video shortly after setup.
Stay tuned.
]]>